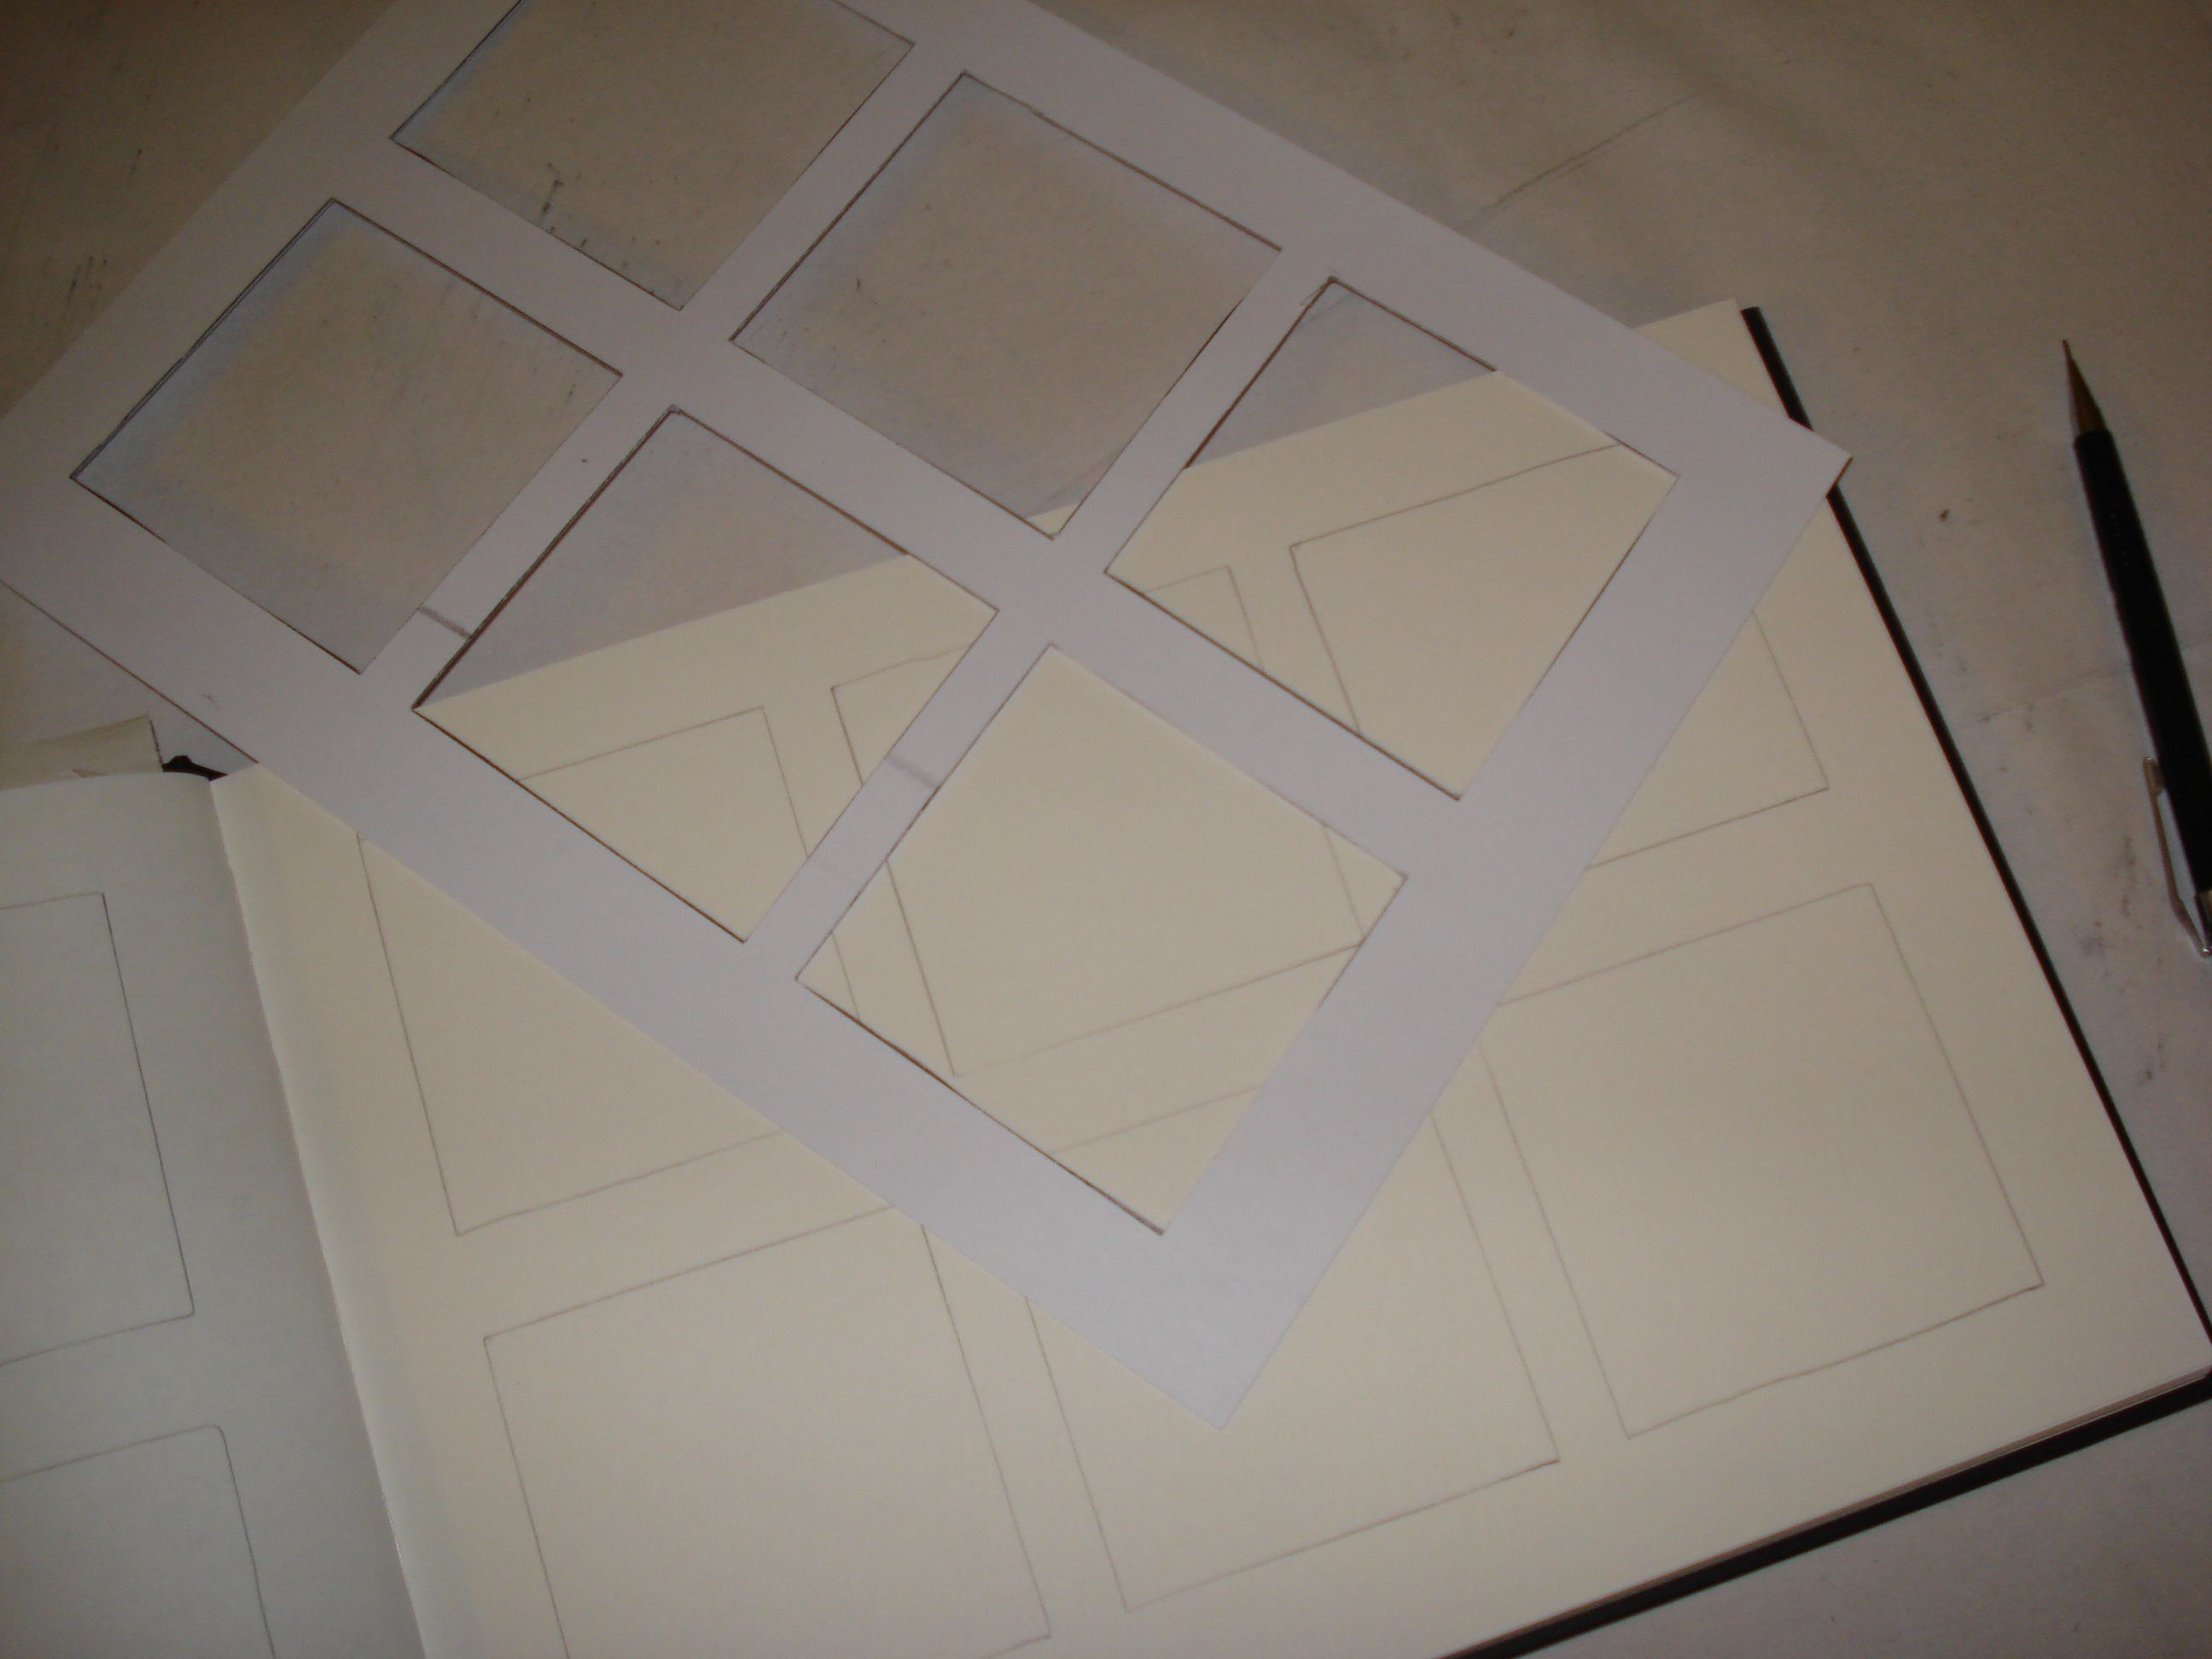
You know what part of this (and forthcoming excercise) got me worked up? The squares. I was getting freaked out that my squares wouldn’t be uniform, regular and evenly distributed on the page. Does this matter, absolutely not. Did it bug me, absolutely. Solution: a template. Squares arranged on an A4 sheet in Illustrator, printed on to card and used as a stencil. Voila, problem solved.
And on to the actual exercise. What I did was try to duplicate the same marks – a variety of them in different squares with different materials. In that way I can refer to this as a “dictionary” looking at the best tool to make a certain type of mark.
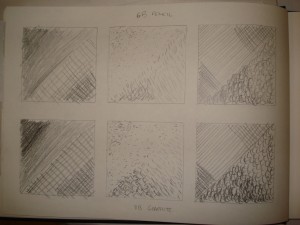
I still have issues with graded shadings – I can only manage about 4 “levels” of tone. Hopefully that will come with practice.


But hey – nice neat squares! I like the “C” shapes. I was also trying to get different density of tone using the same “pressure” of mark – again reducing the variables, so what is seen is the difference in the materials.

I then did a page of colour. Same marks, same pressure, but using different colours in the same shading area to try and get an “optical mixing” effect. Yellow and Blue make Green and look, there it is on the page. It works better the further “out” you are from the drawing, but only blue and yellow pencils were used here.